When your computer’s sound suddenly stops working, it can be incredibly frustrating, whether you’re trying to focus on work, enjoy music, or watch a video. Luckily, fixing your computer’s sound doesn’t have to be a daunting task. Whether you’re using Windows, Mac, or Linux, this guide is here to help you troubleshoot and resolve common sound issues quickly and effectively. With my experience in tech support, I’ll walk you through easy steps to fix the problem, from basic checks to more advanced solutions. This post can answer how to fix computer sound on Windows, Mac and Linux.
Before we dive into the details, here’s what to expect from this guide:
- Quick diagnosis steps to identify the cause of sound problems
- Step-by-step fixes for Windows, macOS, and Linux
- Advanced troubleshooting and hardware checks
- Preventive tips to avoid future audio issues
1. Sound not working? Your fast-track diagnosis starts here
As a tech expert who’s been in the trenches for over a decade, I know nothing’s more frustrating than a silent computer when you’re trying to work, play, or relax. That’s why I’ve created this guide on how to fix computer sound, drawing on my experience to get you back up and running quickly. If you’re dealing with no sound on your PC, you’ve come to the right place.
This guide is your one-stop hub for fixing sound issues on Windows, Mac, and Linux, from simple checks to advanced solutions. My goal is to save you time and get your audio working again, fast.
1.1. First, is it a hardware or software problem?
Before you dive into complex settings, let’s figure out where the problem likely lies. Answering these simple questions will point you in the right direction and prevent you from wasting time on the wrong fixes.
- Can you hear any sound at all (like a faint pop or static) when you plug in your speakers or headphones?
- Have you recently dropped or physically damaged your speakers or headphones?
- Do your speakers or headphones work when you plug them into another device, like your phone?
- Is the audio cable securely plugged into both the speaker and the correct port on your computer?
If you answered ‘yes‘ to most of these questions, the problem is likely with your computer’s software. You should start with Section 2.
If you answered ‘no‘, you might have a hardware issue, such as your computer speakers not being detected, and should jump ahead to check physical connections in Section 2.1 before exploring advanced hardware diagnostics in Section 5.
1.2. Symptom-to-solution: Find your exact problem
To speed things up, I’ve created this handy chart. Find your specific issue in the left column to get a direct pointer to the most likely solution in this article.
| Your Symptom | Likely Cause & Where to Look |
|---|---|
| No sound at all from any source | Volume muted, wrong playback device selected, or loose cables. Start with Section 2. |
| Headphones work but not my speakers (or vice-versa) | Incorrect default playback device is selected in your sound settings. See Section 2.2. |
| Crackling, popping, or distorted audio | A corrupted audio driver or physical interference is the most common culprit. See Section 3.2. |
| Sound stopped working after a Windows update | The update likely interfered with your audio drivers. See Section 3.4. |
| I have headphones but no sound in one specific app | The application is likely muted in the Volume Mixer or has its own sound settings. See Section 2.3. |
2. The 5-minute fix to check the basics first
In my experience, a surprising number of audio problems are caused by something simple. Before you start worrying about drivers or complex settings, let’s run through these essential checks. Often, one of these steps is all it takes to get your sound back.
2.1. Check all physical connections and volume levels
It sounds obvious, but you’d be amazed how often a loose cable is the culprit. Here’s a quick checklist to follow.
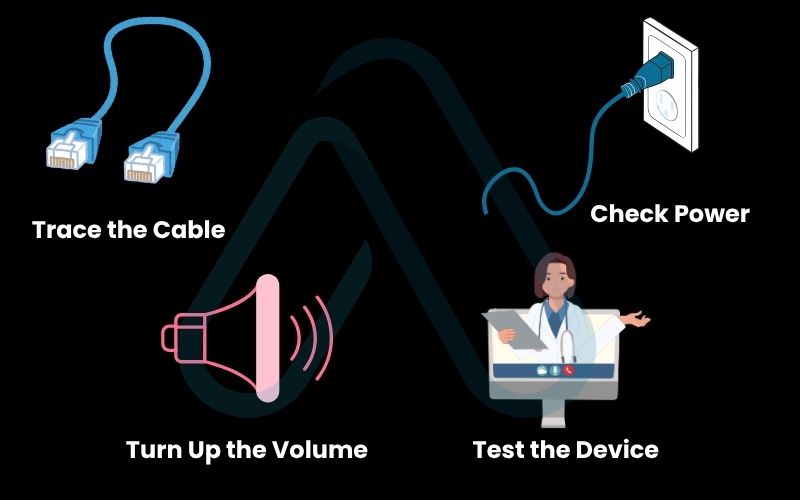
- Trace the Cable: Ensure your speaker or headphone cable is firmly plugged into the correct port. For most desktops, this is the lime green port on the back. The pink port is for microphones. If your computer speakers are not detected, this is the first place to look.
- Check Power: If your speakers have their own power source, make sure they are plugged in and turned on. Look for a power indicator light.
- Turn Up the Volume: Check for a physical volume knob on your speakers or a volume control on your headphone cable. Make sure it’s not turned all the way down.
- Test the Device: This is the single most important hardware check. Unplug your speakers or headphones from your PC and plug them into a different device, like your smartphone.
| Pro Tip: If you plug your speakers into your phone and they work perfectly, the problem is 100% with your PC. If they don’t work, you’ve found your problem – the speakers themselves have failed. |

2.2. Verify the correct playback device is selected
Modern computers can send audio to many different places – speakers, headphones, HDMI monitors, or even Bluetooth devices. Sometimes, your PC simply gets confused about which one to use. This is the most common reason I see for ‘How do I get my sound back on my PC?’ queries.
Here’s how to check your sound settings:
- On Windows 10/11: Right-click the speaker icon in the bottom-right corner of your taskbar and select ‘Open Sound settings’. In the ‘Output’ section, you’ll see a dropdown menu. Click it and select your primary speakers or headphones. You might see several options, like ‘Speakers (Realtek Audio)’ and ‘MONITOR (NVIDIA High Definition Audio)’. If your monitor has no built-in speakers, selecting it will result in silence. This is a critical step in sound settings troubleshooting.
- On macOS: Open ‘System Settings’ (or ‘System Preferences’ on older versions), then click on ‘Sound’. Go to the ‘Output’ tab and select the correct device from the list.
2.3. Unmute your system and applications
There are two places your sound can be muted: at the system level and at the application level. It’s easy to accidentally mute one or the other.
First, click the speaker icon in your taskbar. Is there a small ‘x’ or mute symbol next to the volume slider? If so, click it to unmute. Next, right-click the same speaker icon and select ‘Open Volume Mixer’. This will show you a separate volume slider for every application that’s currently open. Check to make sure the app you’re using (like your web browser or a game) isn’t muted or turned all the way down here.
3. How to fix sound on Windows 10 and 11
If the basic checks didn’t solve your issue, it’s time to dive into Windows-specific solutions. These steps progress from simple automated fixes to more hands-on driver management, covering the most common causes of audio failure on Windows systems.
3.1. Run the built-in Windows audio troubleshooter
Before we get our hands dirty, let’s let Windows try to fix itself. The built-in troubleshooter is surprisingly effective at diagnosing and fixing common configuration issues automatically. It’s a safe and easy first step.
Here’s how to run it:
- Open the Settings app (you can press Windows key + I).
- Go to System, then scroll down and click on Troubleshoot.
- Click on Other troubleshooters (or ‘Additional troubleshooters’ in some versions).
- Find Playing Audio in the list and click the Run button next to it.
- Follow the on-screen prompts and let the troubleshooter detect and apply any potential fixes.
3.2. How to update or reinstall your audio drivers
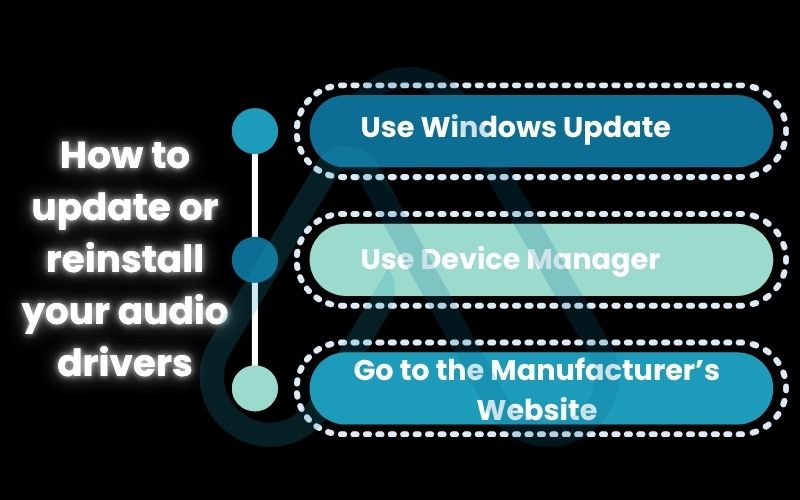
Think of an audio driver as a translator between your operating system and your speakers. If that translator is outdated or corrupt, communication breaks down, and you get silence. This is one of the most common reasons for sound failure, so learning how to update audio drivers is a key skill. Here are three methods to do it.
Method 1: Use Windows Update. The easiest way is to let Windows handle it. Go to Settings > Windows Update and check for updates. Optional updates often include new drivers for your hardware.
Method 2: Use Device Manager. This gives you more control. Right-click the Start button and select ‘Device Manager’. Expand the ‘Sound, video and game controllers’ category. Right-click your audio device (e.g., ‘Realtek High Definition Audio’) and you’ll see a few options: ‘Update driver’ will search for a new one, ‘Roll Back Driver’ will revert to a previous version if a new one caused problems, and ‘Uninstall device’ will remove it completely.
Method 3: Go to the Manufacturer’s Website. For the most reliable and up-to-date drivers, I always recommend going directly to the source. This could be your PC manufacturer’s site (like Dell or HP) or the audio chip maker’s site (like Realtek).
| Warning If you choose to ‘Uninstall device’ in Device Manager, your sound will be completely disabled. Don’t panic. Simply restart your PC, and Windows will automatically attempt to reinstall a fresh, generic driver. |

3.3. Check the Windows audio service
Behind the scenes, a critical service called ‘Windows Audio’ is responsible for managing all sound on your PC. If this service stops running for any reason, you’ll have complete silence. It’s a quick and easy thing to check and restart.
To do this, press the Windows key + R to open the Run dialog. Type services.msc and press Enter. In the Services window, scroll down until you find ‘Windows Audio’. Check its status. If it doesn’t say ‘Running’, right-click on it and select ‘Start’. If it is running, right-click and select ‘Restart’ just to be sure.
3.4. How to fix sound issues after a Windows update
Did your sound stop working right after a major Windows update? I see this happen all the time. Updates can sometimes install a new driver that has compatibility issues with your specific hardware, or they can corrupt the existing one. The good news is that it’s usually easy to fix.
Your best bet is to follow the steps in Section 3.2 and use Device Manager to ‘Roll Back Driver’. This will undo the change the update made and restore the driver that was working before. If that option is grayed out, your next step should be to visit your PC manufacturer’s website to download and install the latest official audio driver for your model, which may have been updated to be compatible with the new Windows version.
4. Troubleshooting sound for macOS and Linux users
Sound problems aren’t exclusive to Windows. While I’ve focused heavily on Windows due to its market share, I want to make sure my Mac and Linux-using readers are covered too. The principles are similar, but the tools are different.
4.1. Fixing audio on a Mac
For macOS users, audio troubleshooting is usually quite straightforward. The system is less prone to driver conflicts than Windows, but things can still go wrong.
Here are the steps I recommend.
- Check Sound Settings: First, go to System Settings > Sound. Under the ‘Output’ tab, make sure your desired speakers or headphones are selected. Ensure the volume slider is up and the ‘Mute’ checkbox is not ticked.
- Reset Core Audio: If the basics don’t work, you can restart the core audio process. Open the ‘Activity Monitor’ app. In the search bar, type ‘coreaudiod’. Select the process and click the ‘X’ button at the top to quit it. The process will restart automatically, which can resolve many glitches.
- Reset PRAM/NVRAM: For persistent issues, resetting the PRAM (or NVRAM on newer Macs) can help. This clears certain system settings, including sound volume. To do this, shut down your Mac. Turn it on and immediately press and hold these four keys together: Option, Command, P, and R. Release the keys after about 20 seconds.
4.2. Restoring sound on Linux (Ubuntu/Debian focus)
Linux audio can be complex with its layers of ALSA and PulseAudio, but fixing it usually comes down to a few common commands. My advice here is tailored for Ubuntu/Debian-based systems, but the ideas apply broadly.
First, check your settings using the graphical interface. Install and run pavucontrol (PulseAudio Volume Control). This tool gives you a much more detailed view than the default sound settings, allowing you to check output devices and application-specific volumes. If that doesn’t reveal the problem, you can try force-reloading the core sound architecture. Open a terminal and run the command: sudo alsa force-reload. This will restart the sound system and can often fix issues where hardware isn’t detected correctly.
5. Advanced diagnostics for tough audio problems
If you’ve made it this far and your computer is still silent, the issue is likely deeper than a simple setting or driver. These next steps are for more confident users and involve checking system-level settings and identifying potential hardware failure.
5.1. Checking your BIOS/UEFI audio settings
Your computer’s onboard audio hardware can actually be disabled at the most fundamental level: the BIOS or UEFI. This can sometimes happen after a major system update or if settings are changed inadvertently.
To check this, you’ll need to restart your computer and enter the BIOS/UEFI setup. This is usually done by pressing a specific key during boot-up, such as DEL, F2, F10, or F12. Once inside, look for a section related to ‘Integrated Peripherals’ or ‘Onboard Devices’. Find an entry for ‘Onboard Audio Controller’ or ‘HD Audio’ and make sure it is set to ‘Enabled’ or ‘Auto’.
| Warning Be very careful inside the BIOS/UEFI. Do not change any settings you are unsure about, as this can prevent your computer from starting up. Simply check the audio setting, save any changes you make, and exit. |
5.2. Identifying signs of hardware failure
At some point, we have to consider that the hardware itself might have failed. This could be your speakers, the physical audio ports, or the audio chip on your motherboard. Here are some tell-tale signs.
- Persistent static, buzzing, or crackling that occurs no matter what you’re doing, even if no audio is playing.
- Sound that cuts in and out when you wiggle the audio cable or gently move the computer case.
- Only one speaker (left or right) works, even after testing with different headphones and speakers.
- None of the software-based fixes in this guide have had any effect whatsoever.
The definitive way I test for this is with a cheap USB audio adapter. You can buy one for just a few dollars. It’s an independent sound card that plugs into a USB port. If you plug it in, install its drivers, and get perfect sound through it, you’ve confirmed that the onboard audio on your motherboard has failed. At that point, using the adapter is the easiest and most cost-effective solution.
6. How to prevent audio problems in the future
Fixing a problem is great, but avoiding it in the first place is even better. Once your sound is working again, you can take a few simple steps to keep your audio system healthy and minimize the chances of future issues.
6.1. Best practices for audio drivers and software
Keeping your software and drivers in good shape is the key to a stable audio experience. Here are my top recommendations.
- Get Drivers from the Source: Always download audio drivers directly from your PC or motherboard manufacturer’s website, or from the chip maker (like Realtek). Avoid generic third-party ‘driver updater’ tools, which can often install incorrect or unstable drivers.
- Create Restore Points: Before making a major system change, like a big Windows update or installing new hardware, create a System Restore point. This gives you an easy way to roll back your system if something goes wrong.
- Keep Windows Updated: While updates can sometimes cause issues, they more often contain important fixes. Keeping your operating system up-to-date is generally good practice.
6.2. Safe hardware usage and care
A little physical care can go a long way in preventing hardware-related audio failures. These are simple habits to adopt.
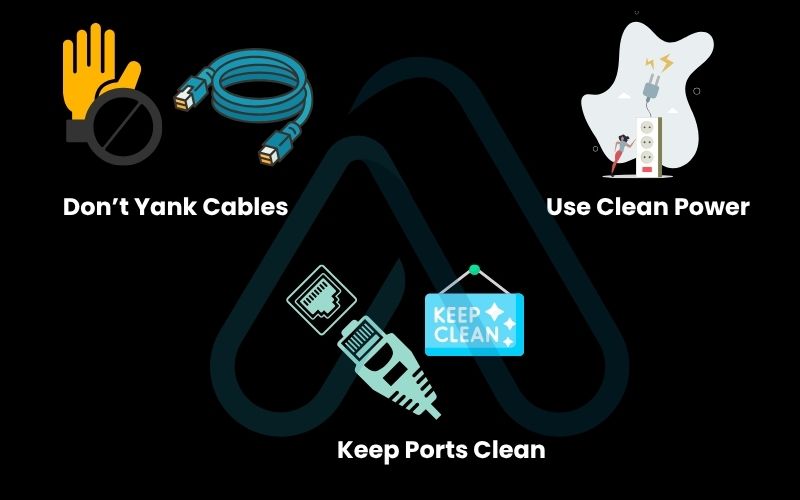
- Don’t Yank Cables: When unplugging headphones or speakers, pull from the rigid plug, not the flexible cable itself. This prevents damage to the internal wiring.
- Use Clean Power: If you experience persistent humming or static, it could be due to electrical interference. Plugging your speakers and PC into a quality surge protector or power conditioner can sometimes help.
- Keep Ports Clean: Occasionally, use a can of compressed air to gently clean out dust and debris from your audio ports.

7. FAQs about how to fix computer sound on Windows, Mac, and Linux
Here are some quick answers to a few very specific questions I often get about computer audio problems.
Why is my computer not making any sound at all?
If there’s absolute silence, the most likely cause is one of three things: the system is muted, the wrong playback device is selected, or a physical connection is loose or broken. I strongly recommend starting with the simple, 5-minute fixes detailed in Section 2 of this guide, as they solve the problem over 90% of the time.
Why does my sound work in my browser but not in an app?
This is a classic symptom of an application-specific setting being wrong. The most common culprit is that the specific app has been muted or turned down in the Windows Volume Mixer. Right-click your speaker icon, open the mixer, and check the slider for that program. You can find detailed instructions in Section 2.3.
Can a virus cause audio not to work?
While it’s possible, it is extremely rare for malware to specifically target your audio. It’s much more likely that a virus or malware infection has corrupted critical system files or your audio drivers as collateral damage. If you’ve tried all other troubleshooting steps without success, it’s wise to run a full system scan with a reputable antivirus program.
Glossary of key terms
| Abbreviation | Full Term | Meaning |
|---|---|---|
| BIOS | Basic Input/Output System | The firmware used to perform hardware initialization during the booting process on older PCs. |
| UEFI | Unified Extensible Firmware Interface | A modern replacement for BIOS that provides more advanced features and security. |
| Driver | Device Driver | A software component that lets the operating system and a device communicate with each other. |
| ALSA | Advanced Linux Sound Architecture | A software framework and part of the Linux kernel that provides an API for sound card device drivers. |
| PulseAudio | PulseAudio | A network-capable sound server program used by many Linux distributions to manage audio. |
| PRAM/NVRAM | Parameter/Non-Volatile Random-Access Memory | A small amount of memory on a Mac that stores certain system settings, including volume. |
| Core Audio | Core Audio | The main software framework in macOS for handling all audio-related tasks. |
| OS | Operating System | The primary software that manages all the hardware and software on a computer (e.g., Windows, macOS, Linux). |
| HDMI | High-Definition Multimedia Interface | A standard for transmitting digital video and audio from a source to a display, like a monitor or TV. |
8. Final thoughts
Navigating the silence of a computer with no sound can be incredibly frustrating, but as I’ve shown, the solution is usually within reach. By following a logical progression, from the simplest physical checks to software settings and finally to more advanced driver and hardware diagnostics. You can systematically isolate and resolve the issue.
With these steps, you’re now equipped to diagnose and fix almost any computer sound problem you encounter. Remember the core takeaways:
- Check the Basics First: Always verify physical connections, volume levels, and selected playback devices before diving deeper. This solves most problems.
- Drivers are Key: Corrupt or outdated audio drivers are a primary cause of sound issues, especially on Windows. Knowing how to update or reinstall them is crucial.
- Isolate the Problem: Determine if the issue is hardware or software by testing your speakers/headphones on another device. This simple step saves immense time.
- Don’t Forget OS-Specific Tools: Whether it’s the Windows Troubleshooter, resetting Core Audio on a Mac, or reloading ALSA on Linux, use the tools your OS provides.
I hope this comprehensive guide has helped you restore sound to your digital life. For more in-depth guides to empower your digital journey, I invite you to explore our Productivity & Automation categories on Afdevinfo.


