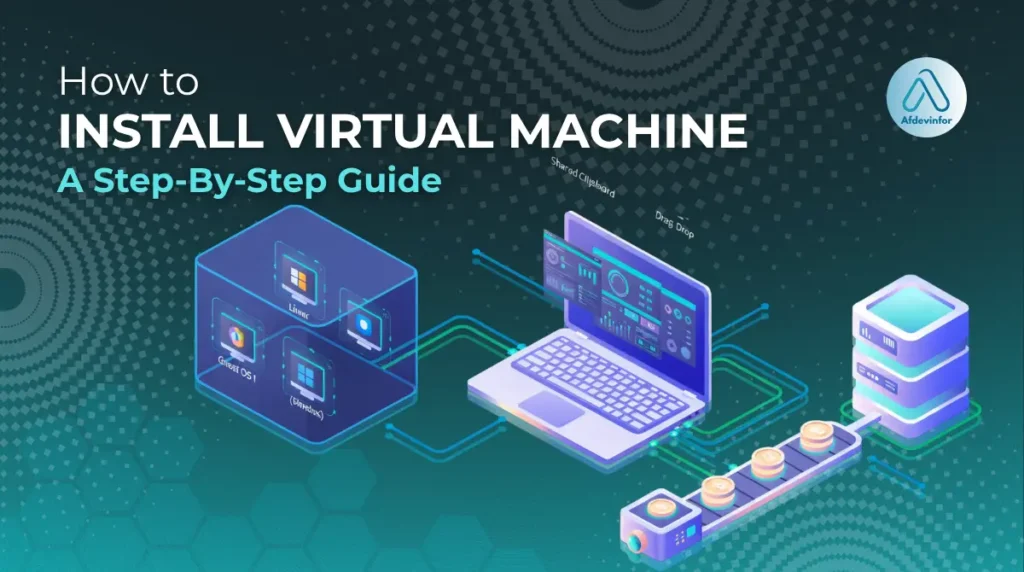
Ever wanted to test new software or try a different operating system without risking your main computer? Learning how to install virtual machine software is your answer, and in my 10+ years of experience, I’ve found it’s one of the most powerful skills any tech enthusiast can have. It might sound complex, but this guide makes setting one up simple and safe. A virtual machine (VM) is essentially a computer inside your computer. It uses your physical hardware to create a completely separate, emulated machine that can run its own operating system. In this guide, I’ll walk you through choosing the right software, the step-by-step installation process, critical security practices, and troubleshooting common issues.
Safely run a completely separate operating system on your current hardware.
Here’s a quick preview of what you’ll learn in this guide:
- Safe Experimentation: Test new software or operating systems without risking your main computer.
- Step-by-Step Setup: Learn how to install and configure your first virtual machine from scratch.
- Smart Software Choices: Discover the best free VM tools for beginners and power users.
- Performance Optimization: Prepare your hardware and tweak settings for smooth, lag-free performance.
- Security Best Practices: Keep your virtual environments safe, isolated, and easy to restore.
1. What is a virtual machine and why should you use one?
Before we dive into the installation, let’s quickly cover the basics. A virtual machine is a software-based computer that runs on your existing physical computer. The software that creates and manages these VMs is called a hypervisor. Your main operating system (e.g., Windows 11 or macOS) is the host OS, and the operating system running inside the VM is the guest OS. This setup creates a perfect ‘digital sandbox,’ an isolated environment where anything that happens inside the VM has no effect on your host machine. This isolation is what makes virtualization software so incredibly useful for both professionals and curious hobbyists.
1.1. Real-world uses for your first VM
To really understand the power of a VM, it helps to see what you can do with it. Here are some of my favorite beginner-friendly projects to get you started:
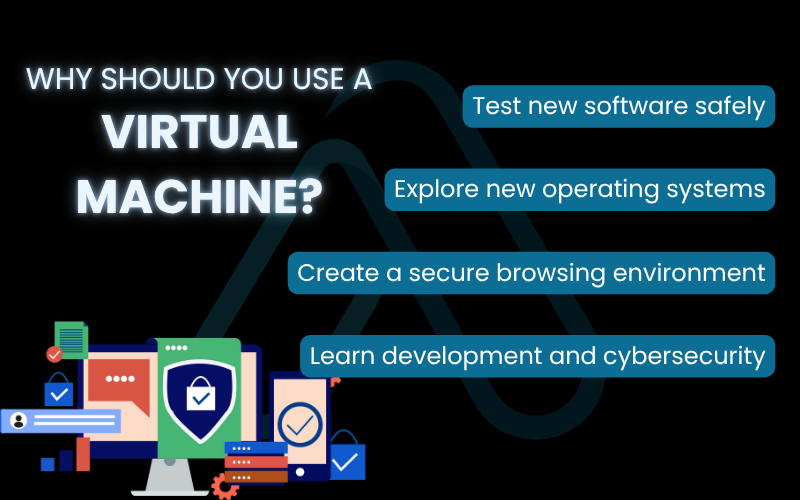
- Test new software safely: Safely test that free software you downloaded without worrying about viruses or malware affecting your main system. If something goes wrong, you just delete the VM.
- Explore new operating systems: Have you always wanted to try Linux? You can run Linux on a Windows virtual machine without having to partition your hard drive or alter your main setup. It’s the perfect way to experiment.
- Create a secure browsing environment: You can dedicate a VM for online banking or other sensitive tasks. This isolates your browsing activity from the rest of your files, adding a powerful layer of security.
- Learn development and cybersecurity: A VM is an essential tool for learning to code or practice ethical hacking. You can set up servers, test code, and launch practice attacks in a self-contained environment that you can easily reset.
2. Which virtual machine software is right for you?
The first hurdle for many beginners is choosing the right virtualization software. After years of testing, I’ve narrowed it down to three main contenders. To help you decide, I’ve created this virtualization software comparison table that directly answers the question, ‘Which free virtual machine software is best for beginners?’
| Feature | Oracle VM VirtualBox | VMware Workstation Player / Fusion | Microsoft Hyper-V |
| Best For | Beginners, personal use, and multi-platform users. | Performance-focused users and those needing a more polished experience. | Windows power users and developers deeply integrated into the Microsoft ecosystem. |
| Cost | Free and open-source. | Free for personal, non-commercial use. | Free, but included only with Windows Pro, Enterprise, or Education editions. |
| Operating System Support | Windows, macOS, Linux, Solaris. | Player: Windows, Linux. Fusion: macOS. | Windows only. |
| Key Feature | Incredibly versatile and easy to start with. | Excellent performance and features like ‘Easy Install’. | Deep, native integration with the Windows operating system. |
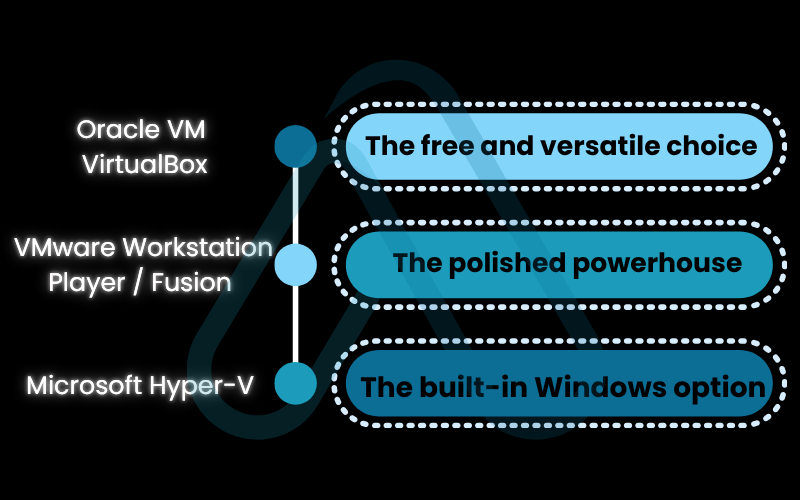
2.1. The free and versatile choice with Oracle VM VirtualBox
For most users reading this guide, VirtualBox is the perfect place to start. It’s completely free, open-source, and it runs on just about everything: Windows, macOS, and Linux. I’ve used it for countless projects over the years. Its primary pros are its cost (free!) and its incredible support for a wide range of guest operating systems. The main downside is that it lacks some of the advanced performance features and polish you might find in paid, enterprise-grade solutions. But for a beginner, it has everything you need.
2.2. VMware Workstation Player / Fusion: The polished powerhouse
VMware is a giant in the virtualization space, and their free offerings, Workstation Player for Windows/Linux and Fusion for macOS are excellent. I often turn to VMware when I need slightly better performance, especially for graphics-intensive tasks. You can tell it’s part of a larger, enterprise-grade ecosystem; the interface is polished, and features like its ‘Easy Install’ streamline the setup of popular operating systems. While the free tier is generous for personal use, many of its advanced features are locked behind the paid ‘Pro’ version.
2.3. Microsoft Hyper-V: The built-in Windows option
If you’re running a Pro, Enterprise, or Education version of Windows, you already have a powerful hypervisor built-in: Hyper-V. Its biggest advantage is its deep integration with Windows, which can result in excellent performance. This is a great choice if you’re a developer working primarily within the Windows ecosystem. However, it’s not available on Windows Home editions, and I find its interface less intuitive for absolute beginners compared to VirtualBox. The hypervisor setup in Windows is seamless, but it comes with a critical warning.
| Warning Enabling Hyper-V on your system will prevent other virtualization software like VirtualBox or VMware Workstation Player from running. You can only have one primary hypervisor active at a time. |
3. System requirements and preparation
To ensure an error-proof installation, we need to do a little prep work first. Running a computer inside your computer requires a decent amount of resources, so let’s make sure your system is ready. Answering the common question ‘What hardware do you need to run virtual machines efficiently?’ is key to a smooth experience.
3.1. Hardware checklist
Here are the hardware prerequisites I recommend for a good VM experience:
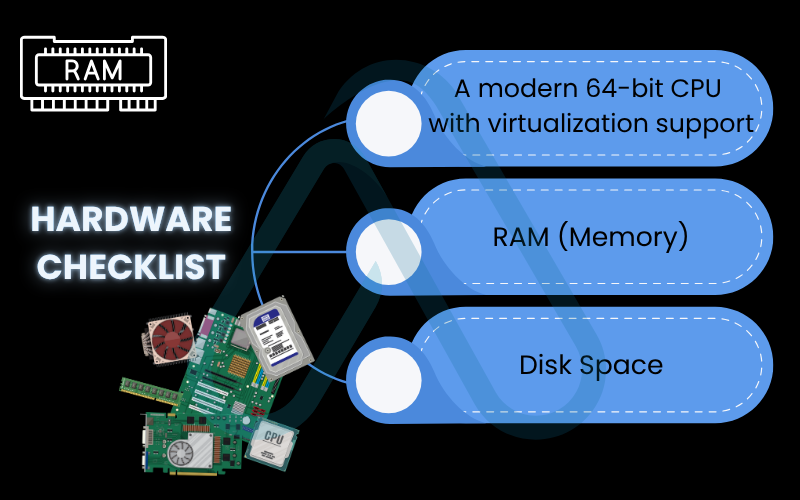
- A modern 64-bit CPU with virtualization support: Nearly all processors from the last decade have this. It’s called Intel VT-x for Intel chips and AMD-V for AMD chips. This feature allows the hypervisor to access the CPU directly, which is critical for performance.
- RAM (Memory): I recommend a minimum of 8GB of total system RAM, with 16GB or more being ideal. You need at least 8GB so both your main (host) and virtual (guest) computers can run smoothly at the same time.
- Disk Space: You’ll need enough free space for the VM software itself, plus the entire virtual hard disk for your guest OS. I suggest having at least 30-40 GB of free space for your first VM. An SSD will make your VM run significantly faster.
You must ensure virtualization is enabled in your computer’s BIOS/UEFI. Here’s how to check:
- On Windows: Open Task Manager (Ctrl+Shift+Esc), go to the ‘Performance’ tab, and select ‘CPU’. Look for ‘Virtualization’ on the right side. It should say ‘Enabled’.
- On macOS: All modern Macs with Apple Silicon or Intel CPUs support virtualization, and it’s enabled by default.
| Warning If virtualization is disabled, you will need to restart your computer and enter the BIOS/UEFI settings to enable it. This can seem intimidating, but it’s a common and necessary step. The setting is usually found under a ‘CPU Configuration’ or ‘Advanced’ tab. |
3.2. Software checklist
Before proceeding, you need to download two key pieces of software. I’ve provided official links to ensure you get them from a trustworthy source:
- Your Chosen VM Software: Based on our comparison, I recommend starting with VirtualBox. You can download the latest version of Oracle VM VirtualBox from its official site. If you chose VMware, you can get VMware Workstation Player there.
- Your Guest OS Installer (ISO Image): You’ll need the installer file for the operating system you want to install in the VM. This comes in the form of an ‘.iso’ file. For a great beginner experience, I recommend Ubuntu, a popular and user-friendly Linux distribution. You can download the latest Ubuntu Desktop ISO for free.
4. Step-by-step guide for how to install your virtual machine
With all our preparations complete, it’s time for the main event. I will now walk you through the entire process from start to finish. Follow these steps exactly, and you’ll have a working VM in no time. We will use VirtualBox and Ubuntu Linux as our main example, as it’s a free and popular combination that works on Windows, macOS, and Linux hosts.
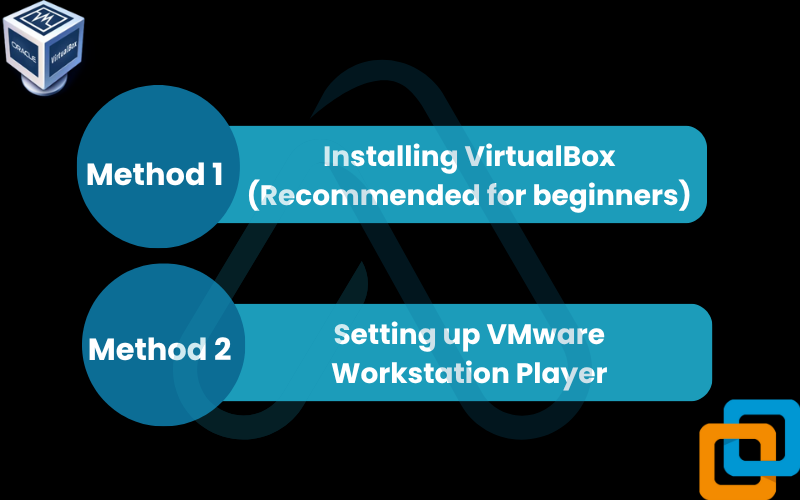
4.1. Installing VirtualBox (Recommended for beginners)
The process to install VirtualBox and create a VM is nearly identical across all operating systems. Here is my universal walkthrough:
- Create a New Virtual Machine: Open VirtualBox and click the ‘New’ button. Give your VM a descriptive name (e.g., ‘Ubuntu Desktop’). VirtualBox will often automatically detect the OS Type and Version from the name. Click ‘Next’.
- Allocate RAM: Now, decide how much memory to give your VM. A good rule of thumb is to allocate no more than half of your total system RAM. For Ubuntu, 2048 MB (2GB) is a minimum, but 4096 MB (4GB) will provide a much smoother experience. Use the slider and click ‘Next’.
- Create a Virtual Hard Disk: Select ‘Create a virtual hard disk now’ and click ‘Create’. On the next screen, choose the hard disk file type. ‘VDI (VirtualBox Disk Image)’ is fine; think of it as the native file format for your virtual hard drive. Click ‘Next’.
- Choose Storage Type: Select ‘Dynamically allocated’. This means the virtual hard disk file will start small and grow as you add files to your VM, up to the maximum size you set. This is more space-efficient. Click ‘Next’.
- Set Disk Size and Location: Finally, set the maximum size for your virtual hard disk. For Ubuntu, 25 GB is a good starting point. Click ‘Create’. You’ve now built the ‘hardware’ for your VM!
- Mount the ISO Image: Your new VM will appear in the list on the left. Select it and click ‘Settings’. Go to the ‘Storage’ section. Click on the empty CD icon under ‘Controller: IDE’. On the right side, click the small CD icon and choose ‘Choose a disk file…’. Navigate to and select the Ubuntu ISO file you downloaded earlier. Click ‘OK’.
- Start the VM: With the VM selected, click the green ‘Start’ arrow. The virtual machine will now boot up from the ISO file you mounted, just as a real computer would boot from a DVD or USB drive.
4.2. Setting up VMware Workstation Player
If you chose VMware, the process is conceptually the same but the interface differs slightly. Here’s how to set up VMware Workstation Player.
- Create a New Virtual Machine: Open VMware Player and click ‘Create a New Virtual Machine’.
- Point to the Installer ISO: VMware has a great feature called ‘Easy Install’. Select ‘Installer disc image file (iso)’ and browse to your Ubuntu ISO. VMware will detect the OS. Click ‘Next’.
- Personalize Linux: The Easy Install feature will prompt you for a full name, username, and password. This allows VMware to automate the entire Ubuntu installation process for you. Fill this out and click ‘Next’.
- Name and Locate the VM: Give your VM a name and choose where to save its files. The defaults are usually fine. Click ‘Next’.
- Specify Disk Capacity: Set the maximum disk size (25 GB is good) and choose ‘Split virtual disk into multiple files’. This makes the VM files easier to move around. Click ‘Next’ and then ‘Finish’. VMware will now create the VM and automatically begin installing the operating system.
| Pro Tip: VMware’s ‘Easy Install’ is a fantastic time-saver for beginners. It not only installs the operating system but also automatically installs VMware Tools (the equivalent of VirtualBox Guest Additions), saving you a crucial post-installation step. |
4.3. OS-specific notes and latest compatibility updates
As of late 2025, virtualization is very mature, but platform-specific quirks still pop up. Here’s what I advise for the latest operating systems when you create a virtual machine on Mac or Windows 11.
- macOS Sonoma/Sequoia: When you first install VirtualBox or VMware Fusion, macOS will require you to grant it special permissions to run. You must go to ‘System Settings’ > ‘Privacy & Security’ and approve the kernel extensions from Oracle or VMware. The software will usually guide you through this.
- Windows 11/12: The biggest issue on Windows is the potential conflict with Hyper-V. If you have Hyper-V enabled, VirtualBox and VMware will either not work or run extremely slowly. You must disable Hyper-V through ‘Turn Windows features on or off’ if you want to use a different hypervisor.
- Linux (Modern Distros): On some Linux distributions with Secure Boot enabled, you may need to sign the VirtualBox kernel modules. This is an advanced topic, but the software’s installation process typically provides instructions if this is necessary for your system.
5. Getting your guest OS running smoothly
Creating the VM is just the first half of the process. Think of it like building a new physical computer; you have the hardware, but now you need to install and configure the software. This is where you’ll actually install the operating system and the essential drivers.
Here are the final steps to get your VM fully operational:
- Install the guest operating system using the mounted ISO.
- Install the crucial performance and usability drivers (Guest Additions or VMware Tools).
- Update your new guest OS.
5.1. Installing your operating system
When you start your VM for the first time, it will boot from the ISO file you attached. You will see the standard operating system installer. For Ubuntu, you’ll be greeted with a screen asking you to ‘Try Ubuntu’ or ‘Install Ubuntu’. Click ‘Install Ubuntu’ and follow the on-screen prompts for language, keyboard layout, and software selection. When you get to the installation type, it will ask if you want to ‘Erase disk and install Ubuntu’.
Don’t worry! Any changes you make here only affect the virtual machine’s virtual disk, not your main computer’s hard drive. This is one of the key safety features of a VM. It’s completely safe to proceed.
Complete the installation process. Once it’s finished and you’ve rebooted the VM (this time it will boot from its new virtual hard disk), you can move on to the final, critical step.
5.2. Installing VirtualBox Guest Additions or VMware Tools
This is a non-negotiable step. Your VM will feel slow and clunky without it. These are special software packages that act as drivers for your virtual hardware, enabling tight integration between your host and guest operating systems. I always tell people this is the secret to making a VM feel like a real computer.
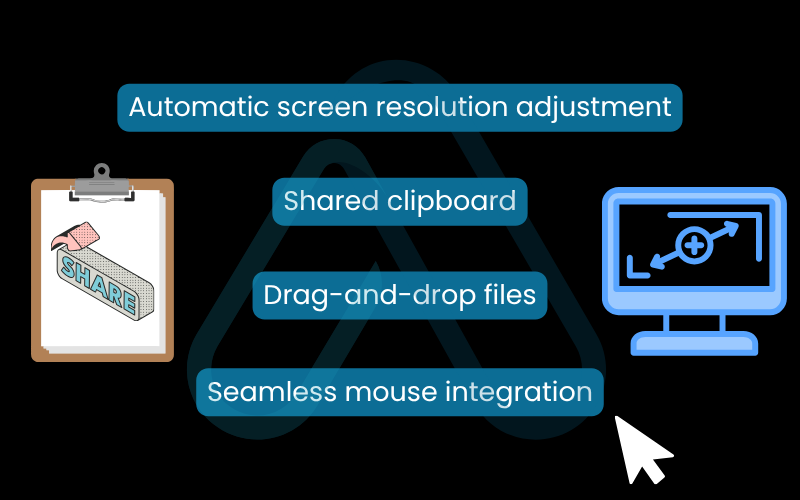
Key benefits include:
- Automatic screen resolution adjustment: The VM’s display will resize automatically when you resize the window.
- Shared clipboard: You can copy text on your host machine and paste it directly into the VM, and vice-versa.
- Drag-and-drop files: Easily move files between your host desktop and your guest desktop.
- Seamless mouse integration: Your mouse cursor will move smoothly between the host and guest OS without getting ‘stuck’.
To install in VirtualBox, with your VM running, go to the ‘Devices’ menu in the VM window and click ‘Insert Guest Additions CD image…’. This will mount a virtual CD inside your guest OS. Open it and run the installer. For VMware, this is usually handled by the ‘Easy Install’ process, but if not, you can find the option under the ‘VM’ menu.
6. Security best practices for your VM
One of the primary reasons I use VMs is for security and isolation. To get the most out of this, it’s important to be a responsible VM user. Following these best practices I’ve developed over the years will ensure your virtual environments remain safe and secure.
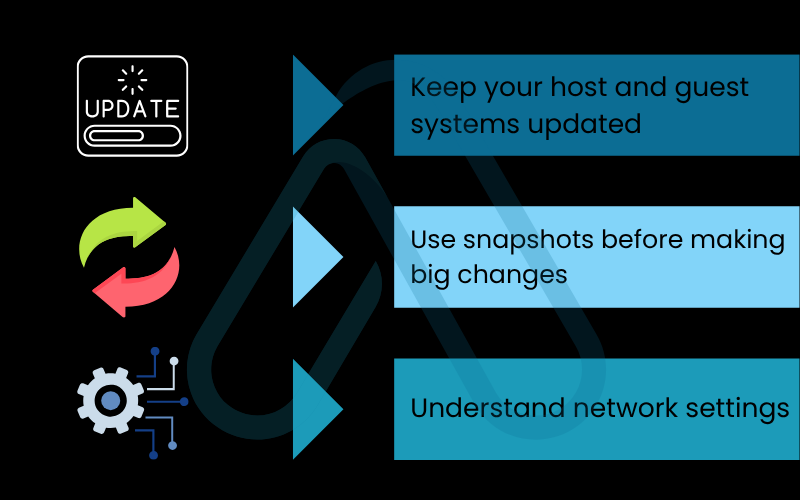
- Keep your host and guest systems updated.
- Use snapshots before making big changes.
- Understand your network settings.
6.1. Keep your host and guest systems updated
A VM is just another computer, and it needs security updates just like any other. Make sure you are regularly updating three things: your host OS, your guest OS, and the virtual machine software itself (e.g., VirtualBox). I can’t stress this enough: a vulnerability in your guest OS can sometimes be a risk to your host OS. Keep everything patched.
6.2. Use snapshots before making big changes
A snapshot is one of the most powerful features of any VM software. It’s an exact ‘save state’ of your virtual machine at a specific moment in time. Before you install a questionable piece of software or make a significant configuration change inside your VM, take a snapshot. If something goes wrong, you can instantly revert the entire machine back to the moment you took the snapshot. Think of a snapshot as a bookmark in a book. You can always return to that exact spot, no matter what happens on the following pages.
6.3. Understand network settings
VMs have several ways of connecting to a network, but the two most common are NAT and Bridged. The default setting is almost always ‘NAT’ (Network Address Translation), and for good reason. For browsing and general use, the default NAT setting is the safest choice as it isolates your VM from other devices on your local network. It essentially puts your VM behind its own virtual router. ‘Bridged’ mode connects your VM directly to your local network, making it appear as another physical device. Only use this if you have a specific reason to, as it reduces isolation.
7. Common problems and how to install a virtual machine without errors
Even with the best preparation, you might run into a snag. Ran into a problem? Don’t worry, it’s likely a common issue with a simple fix I’ve seen many times before. Here is my list of the most frequent problems and their solutions.
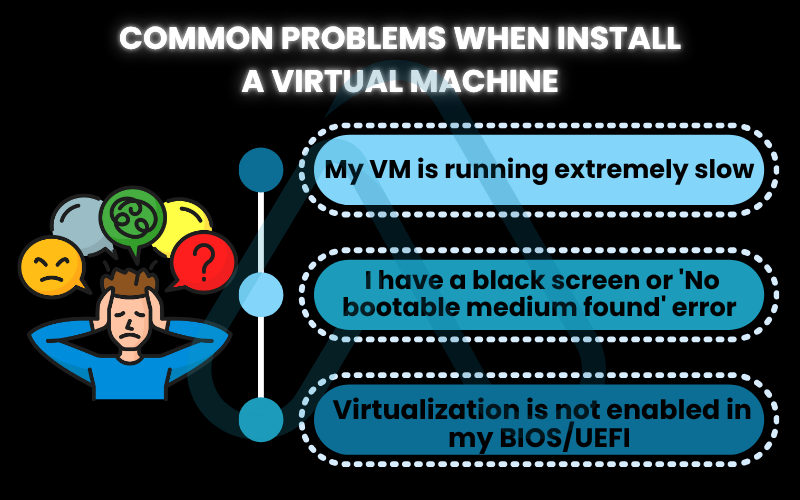
7.1. My VM is running extremely slow
This is the most common complaint I hear. If your VM feels sluggish, try these steps:
- Allocate more resources: Shut down the VM and go into its settings. Try increasing the amount of RAM and the number of CPU cores allocated to it. Be careful not to assign more than half of your system’s total.
- Install Guest Additions/VMware Tools: As mentioned in section 5.2, this is mandatory. The video drivers included make a massive difference.
- Enable 2D/3D Acceleration: In the VM’s ‘Display’ settings, there is often an option to enable hardware acceleration. Ticking this can improve graphical performance.
7.2. A black screen or ‘No bootable medium found’ error
This error almost always means one of two things:
- The ISO is not mounted correctly: This is the most likely cause. Shut down the VM and double-check the ‘Storage’ settings. Ensure that your downloaded OS ISO file is correctly attached to the virtual CD/DVD drive and that the ‘Live CD/DVD’ checkbox is ticked.
- The boot order is wrong: In the VM’s ‘System’ settings, check the Boot Order. Make sure ‘Optical’ is listed before ‘Hard Disk’ so the VM tries to boot from your ISO file first.
7.3. Virtualization is not enabled in my BIOS/UEFI
If your VM software gives you an error message like ‘VT-x is not available’ or ‘AMD-V is disabled’, it means you need to enable it in your computer’s firmware. This is the hardware feature I mentioned in section 3.1. To fix this, you must restart your computer and press a specific key during startup (often F2, F10, or DEL) to enter the BIOS/UEFI setup. From there, you’ll need to look for a setting, usually under ‘CPU Configuration’, ‘Advanced’, or ‘Security’, named ‘Intel Virtualization Technology’, ‘VT-x’, ‘AMD-V’, or something similar, and set it to ‘Enabled’.
| Warning Modifying BIOS/UEFI settings can be risky if you don’t know what you’re doing. Only change the specific virtualization setting mentioned. Save your changes and exit, and your computer will restart. |
8. FAQs about how to install virtual machine
Here are concise answers to some of the most common questions I get about auto clickers.
What is the easiest way to install a virtual machine?
Use Oracle VM VirtualBox, it’s free, cross-platform, and very simple to set up.
How do you install a virtual machine on Windows 11?
Use VirtualBox (same steps as in this guide), VMware Player, or Hyper-V on Windows 11 Pro.
Can you run macOS on a virtual machine?
Yes on Apple hardware (fully allowed). On non-Apple hardware it’s possible but violates Apple’s EULA.
Is running a virtual machine safe?
Yes. VMs are isolated from the host, making them safe for testing. Just keep them updated and use snapshots.
Glossary of key terms
| Abbreviation | Full Term | Meaning |
| VM | Virtual Machine | A software-based, emulated computer that runs on a physical host computer. |
| Hypervisor | Virtual Machine Monitor | The software (like VirtualBox or VMware) that creates, runs, and manages virtual machines. |
| Host OS | Host Operating System | The main operating system running on your physical computer (e.g., Windows, macOS). |
| Guest OS | Guest Operating System | The operating system running inside the virtual machine. |
| ISO | ISO 9660 disk image | A file that is a perfect copy of an optical disc, used to install operating systems. |
| VT-x / AMD-V | Intel Virtualization Technology / AMD Virtualization | Hardware features built into CPUs that are required for efficient virtualization. |
| BIOS/UEFI | Basic Input/Output System / Unified Extensible Firmware Interface | The low-level software that starts up your computer before the operating system loads. |
| VDI | VirtualBox Disk Image | The default virtual hard disk file format used by Oracle VM VirtualBox. |
| NAT | Network Address Translation | A network mode that isolates the VM from the local network, providing security. |
9. Final thoughts
After walking through this guide, you should see that virtual machines are not just for IT professionals, they are incredibly powerful and accessible tools for anyone. With the right guidance, the process of choosing software, preparing your system, and completing the installation is straightforward and painless. My goal at afdevinfo.test/ is to provide these kinds of practical, clear instructions to help you master essential digital tools.
Here are the most critical takeaways from this guide:
- Start with VirtualBox: For beginners, it’s the best combination of free, powerful, and easy to use.
- Preparation is key: Ensuring your hardware has virtualization enabled and downloading your software beforehand prevents most common errors.
- Install Guest Additions: This is the most important post-installation step for a smooth, usable VM experience.
- Use VMs safely: Leverage features like snapshots and proper network settings to maintain security and isolation.
You now have all the knowledge needed to confidently install and use a virtual machine. Go ahead and try installing that new Linux distro or create a safe space for your next software project. The possibilities are endless. For more in-depth guides like this, explore our Essential Digital Tools categories on Afdevinfo.


